Master the skills to sharpen an axe and ensure its optimal performance and longevity. This article will guide you step-by-step, demystifying the process and providing you wield a perfectly sharpened axe every time.
MrBestGarden.com is reader-supported. When you buy through links on our site, we may earn an affiliate commission. As an Amazon Associate, we earn from qualifying purchases.
.jpg "The Art of Axe Sharpening: A Comprehensive Guide to Maintaining Your Trusted Tool")
The humble axe, a tool as old as civilization itself, is a constant companion for outdoorsy folks, handymen, and professionals. Understanding how to sharpen an axe is vital to maximize its functionality and preserve its lifespan. So, let's delve into the nuances of this essential yet often overlooked aspect of tool maintenance.
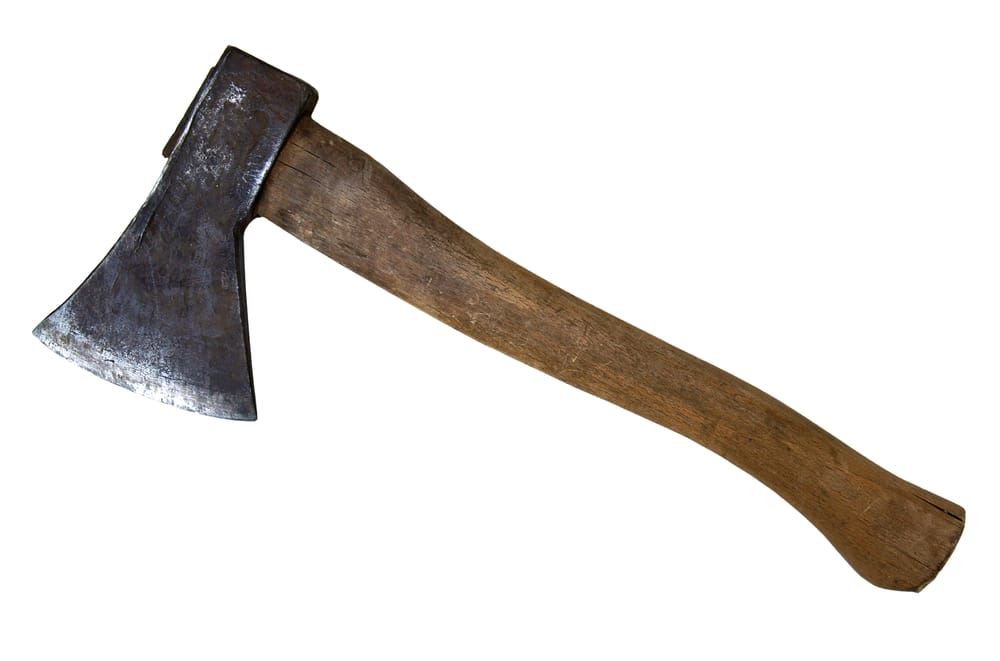
An axe comprises two main parts: the "head" and the "handle." Typically made from steel, the head holds the bit (or blade) we sharpen to achieve a keen cutting edge. The handle (the haft), usually crafted from wood or composite materials, allows us to swing the axe effectively.
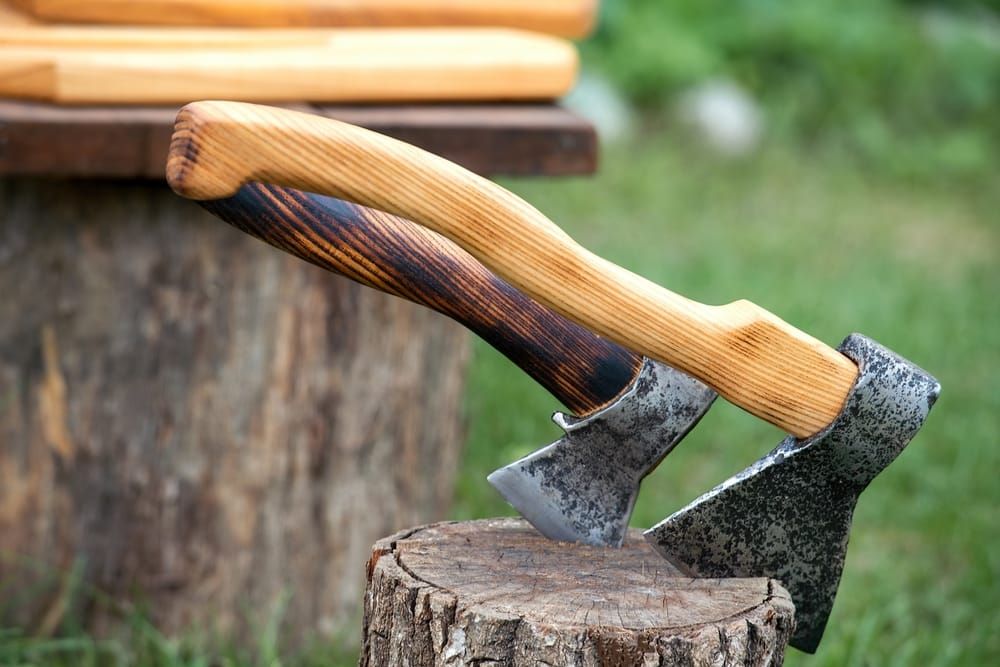
From the broad axe, designed for hewing logs, to the small hatchet for light splitting or carving tasks, axes come in a variety of types, each serving a specific purpose. The techniques on how to sharpen an axe may vary slightly depending on the type, but the principles remain the same.
A sharp axe isn't just about effective chopping; it's about safety too. A blunt axe tends to bounce off the wood, increasing the risk of accidents, while a sharp one bites deep, ensuring control and precision with every swing. Sharpening your axe is not only a commitment to the tool but also to personal safety.
It's quite a no-brainer. If your axe wouldn't cut butter, it's time to sharpen it! But let's get a tad more technical.
A keen eye might just save you a day of ineffective chopping. If you see any nicks, chips, or even a shiny reflection when you hold the bit toward a light, chances are your axe needs some tender loving care. And by that, I mean an excellent ol’ sharpening session!

If the visuals don't quite cut it (pun totally intended), here's another trick. Try slicing a piece of paper with the axe's edge. If it ends up more of a tear than a clean slice, it's sharpening time.
Like any superhero needs their utility belt, you need your tool kit for this mission. The main stars of the show are:
These come in various grit sizes. A coarser one (say 120-400 grit) will shape the edge, and a finer one (600-2000 grit) will refine it. Your axe edge is going to feel pampered like it's on a spa day!
This metal tool works wonders for shaping the edge, especially if it's very dull or has minor nicks and chips. It's like the personal trainer for your axe, sculpting that perfect shape before the beauty routine starts.
Some whetstones require lubrication, and honing oil is perfect for this. Why, you ask? Well, the oil reduces the heat caused by friction, carries away the metal filings, and prevents the stone's pores from clogging. It's the smooth operator in this sharpening concert!
Lastly, the leather strop is the final step to achieving a razor-sharp edge. It aligns the edge while removing any burrs or imperfections. It's the final polish, the red carpet gown for your axe edge.
We've now laid the groundwork on how to sharpen an axe. Coming up next is the moment of truth – sharpening your axe. So, take a deep breath, grab your tools, and let's march forward!
Before we start the sharpening gig, let's wrap our heads around a couple of crucial concepts.
The bevel is the sloped part leading up to the cutting edge of your axe. Think of it as the ramp that guides your axe into the wood. Getting the angle right while sharpening is the secret to a killer (not literally, we hope) cutting edge.
Generally, a 25 to 30-degree angle is ideal for most axes. A lower angle will make your axe sharper but less durable, while a higher angle gives you durability at the cost of sharpness. It's like a see-saw, you've got to find the perfect balance!
Time to roll up your sleeves, folks! It's sharpening time!
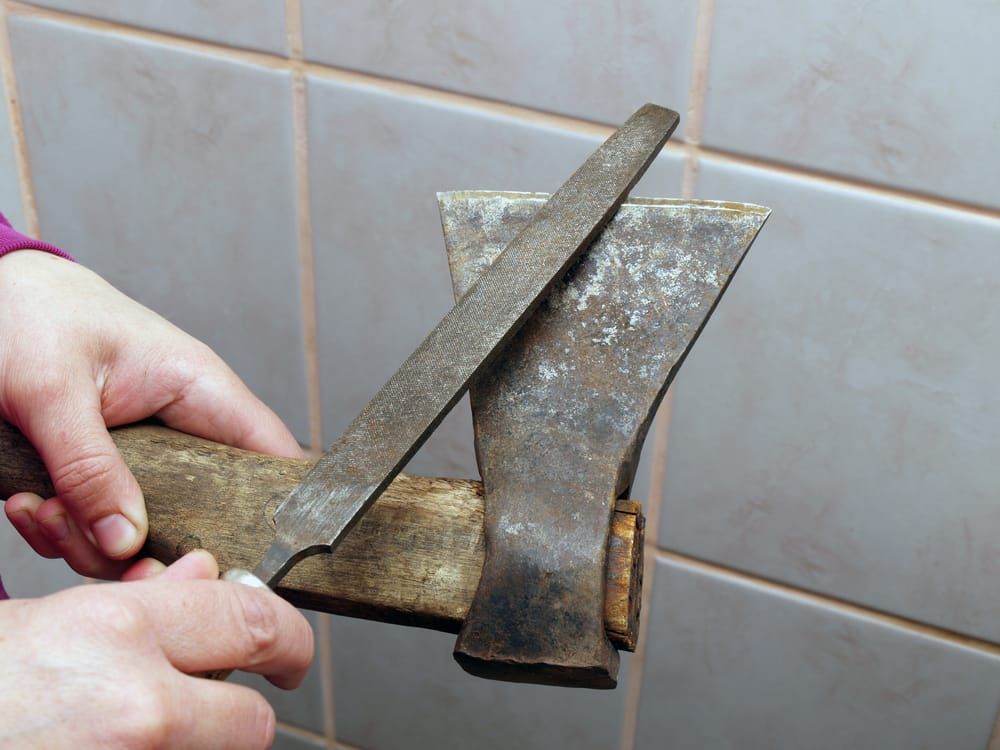
1. Secure the Axe: Use a vice or ask a really good (and strong) friend to hold the Axe for you. We need it steady like a rock. Safety first, people!
2. File Forward: Using your file, start at the heel (bottom) of the bit and push it towards the toe (top), following the curve of the bit. Remember, we only file on the push stroke. Pulling it back like a DJ scratching a record isn't doing anyone any favors.
3. Maintain the Angle: Keep a constant 25 to 30-degree angle. Think of it as an invisible bond between the file and the axe bit. Don't let that angle change, folks!
4. Check Your Work: Every few strokes, check your work. We are looking for a consistent shiny strip of metal along the edge. Patience is a virtue, and checking prevents you from overdoing it.
5. Flip and Repeat: Once you are done with one side, flip the axe and repeat the process. We need symmetry, not a wonky bit!
Before you know it, your axe will start looking sharper already! But hold your horses, we aren't done yet!

Having put the file to work, now it's time to treat your axe to the 'spa' part of its makeover—enter, the whetstone.
1. Lubricate the Whetstone: If you're using a water or oil stone, it's important to lubricate it first. Think of it as the moisturizing step of the axe's beauty routine. This lubrication minimizes heat caused by friction and helps sweep away those pesky metal filings.
2. Start with the Coarser Side: Begin with the coarse-grit side of the stone. Why? It's all about that initial sculpting before the fine polishing.
3. Sharpen in Circles: With the axe still secure (remember, safety first!) start making small circular motions along the bit, maintaining the same 25 to 30-degree angle.
4. Flip and Repeat: Like any good makeover, symmetry is key! Once one side of the bit looks uniformly shiny, flip the axe over and repeat the process.
5. Finishing Touches with the Finer Side: Finally, flip your whetstone to its finer side and repeat the process. This step refines the edge, smoothing out the imperfections and giving your axe a razor-sharp finish. Glamorous, isn't it?
What's a spa day without proper finishing treatment? The leather strop serves as the final touch in our axe-sharpening saga.
1. Secure the Strop: Hold the strop tightly or secure it to a stable surface. We don't want any unexpected slip-ups here, do we?
2. Strop Away: Holding the axe at the same 25 to 30-degree angle, drag it across the strop, moving away from the edge (not into it). Imagine you're spreading cream cheese on a bagel, that's the kind of motion you want!
3. Lighten the Touch: As you strop, use lighter and lighter pressure. It's the delicate, final flourish of your masterpiece!
And voila! Your axe should now be sharper than a stand-up comedian's wit.
You've just worked hard to sharpen your axe; let's make sure it stays that way! Here's your maintenance guide for an edge that sticks around longer than your mother-in-law's visit.
You wouldn't wear muddy shoes indoors, would you? Similarly, always clean your axe after use. A wipe-down with a damp cloth should do the trick. Remember, rust is the nemesis of a sharp edge, and we are not in the business of welcoming nemeses.
After cleaning, apply a thin layer of oil to the axe head. This step prevents rust and keeps the metal happy. Think of it as a hydrating lotion for your axe. Olive oil works great if you're in a pinch!
Like a classic car, your axe doesn't like moisture. So store it in a dry place. If your axe could talk, it'd say, "No saunas, please."
Just like us humans, axes need regular touch-ups. Honing it with a leather strop and honing compound every now and then keeps the edge in prime condition. Consider it like your axe's dental checkup, but thankfully, less frequent.
We've been through the nitty-gritty of axe sharpening, and by now, you're probably brimming with questions. Fear not; here are the answers to some frequently asked ones.
Typically, a 25 to 30-degree angle is best. Remember, it's all about finding that sweet spot between sharpness and durability.
While technically possible, grinders can heat up the metal, potentially ruining the temper of the axe. So, unless you fancy a hot-tempered axe, it's best to stick with a file and whetstone.
This depends on usage. If you're a regular Paul Bunyan, you might need to sharpen it more frequently than someone using their axe once a year for a camping trip. The 'slice a paper' test is a good indicator of when it's time for a touch-up.
Sharpening removes a bit of metal each time. Too much, and you could end up with an axe that's as thin as a kitchen knife and probably just as effective at chopping wood. Moderation is key here.
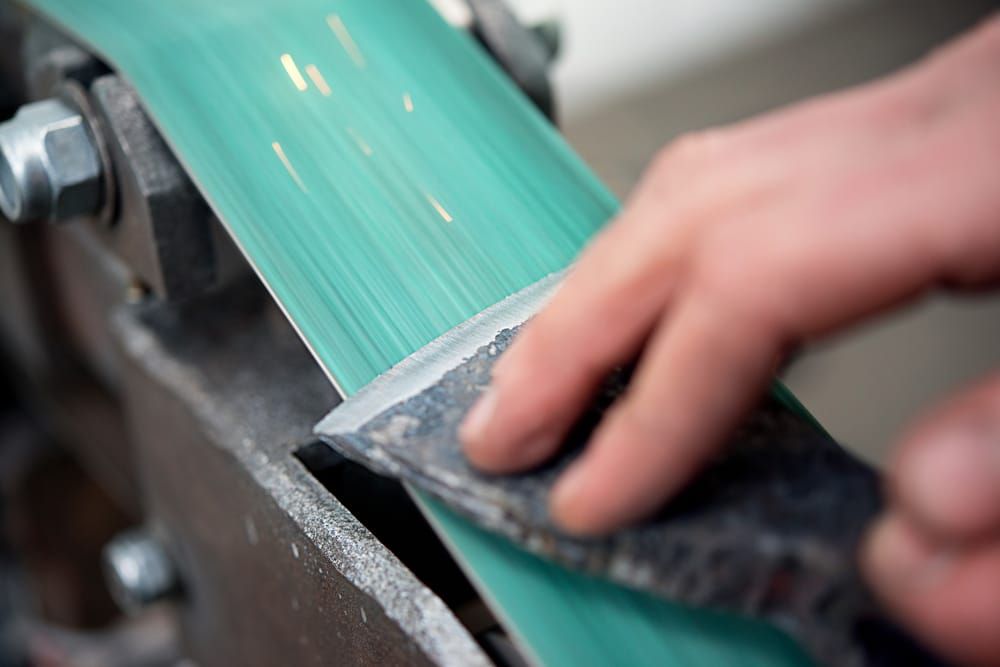
Yes, you can! Sandpaper can be a handy tool for removing rust or small imperfections. Just remember to use it gently.
For some whetstones, yes. Honing oil minimizes heat from friction and helps clean the stone. If you're in a bind, household oils can also work.
Sharpening an axe is like grooming a beard—it requires patience, the right tools, and a dash of skill. And like any good beard, a sharp axe is not just about looks; it’s about function. So the next time your axe resembles a blunt butter knife more than a cutting tool, you'll know exactly what to do.

.png "Mr Best Garden")
.jpg "how to lower humidity in your grow tent")

 (1) (1).jpg "when to spray weed killer")


